

-
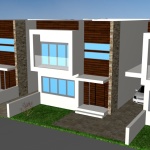
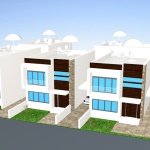
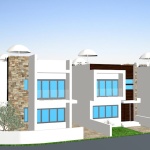
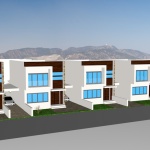
- 3d house model from architectural plan

Comments
My dear friends!
I think you know that photoshop can be used for drawing also and today I’m going to give you one easy tutorial!
My name is Nelia Martian and let’s begin our tutorial!
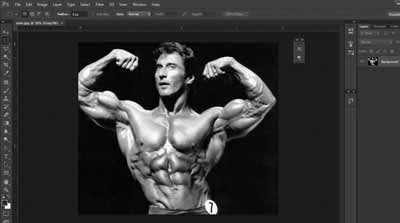
Open desired photo in Adobe Photoshop.
I choose one of my favourite bodybuilders-Frank Zane.
First thing we need to do is find or create brushes for human/non human drawing.There are thousand website of brushes,so you can search for them.As for me, good brushes were from Melanie Delon.You may download them from my official site(download page here) of search in google.
Leave the layer background as it is and create 3 layers:TOP + MIDDLE+BOTTOM.
BOTTOM layer have a very “rough” texture,just colours,no details.
MIDDLE layer will have more details,shorter strokes.
TOP layer will be a finish layer,just to cover some of the image to make a “softer” look.Some artists prefer their image to look realistic,I prefer my drawings to look like drawings,not like a photo,so I will use a TOP layer just a little bit.
Now when i explained you may say:”Hey,there are lot of artistic effects in photoshop filter gallery by default!”
Yes,many.But none of them will teach you how to draw and none of them will give you that control on the image,and none of them look realistic enough.
Ok,let me show you better on practice.
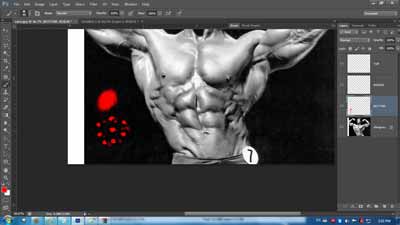
I will be using only two brushes.The oval and dotted.
Go to layer MIDDLE and start drawing on it, picking the colors by pressing the ALT button on your keyboard.Your brush strokes must be medium sized,no small details at the moment.
Don’t worry about living some free space between strokes on middle layer,you will cover them in bottom layer with larger strokes.
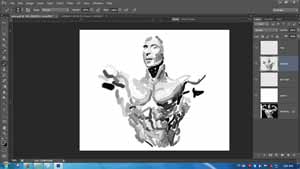
I’ve almost finished the middle layer.Now I will add some bigger strokes under the middle layer.
The opacity of your brush must be from 80-100%.
When you have finished with your middle layer, go to BOTTOM layer,use brush opacity at 80-100% ,with large strokes cover the area with missing colors.
To check where you need colors,create one layer with contrast color under all layers.
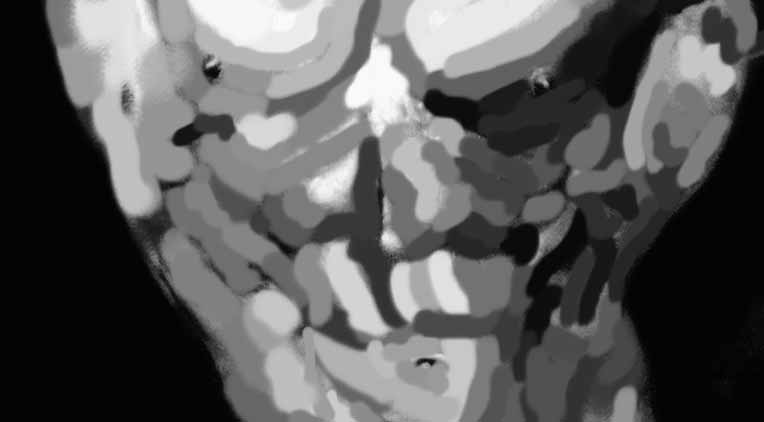
FINAL STEP.
Use the same brush (opacity very high 10-20%). Here starts the jewellery work 😛
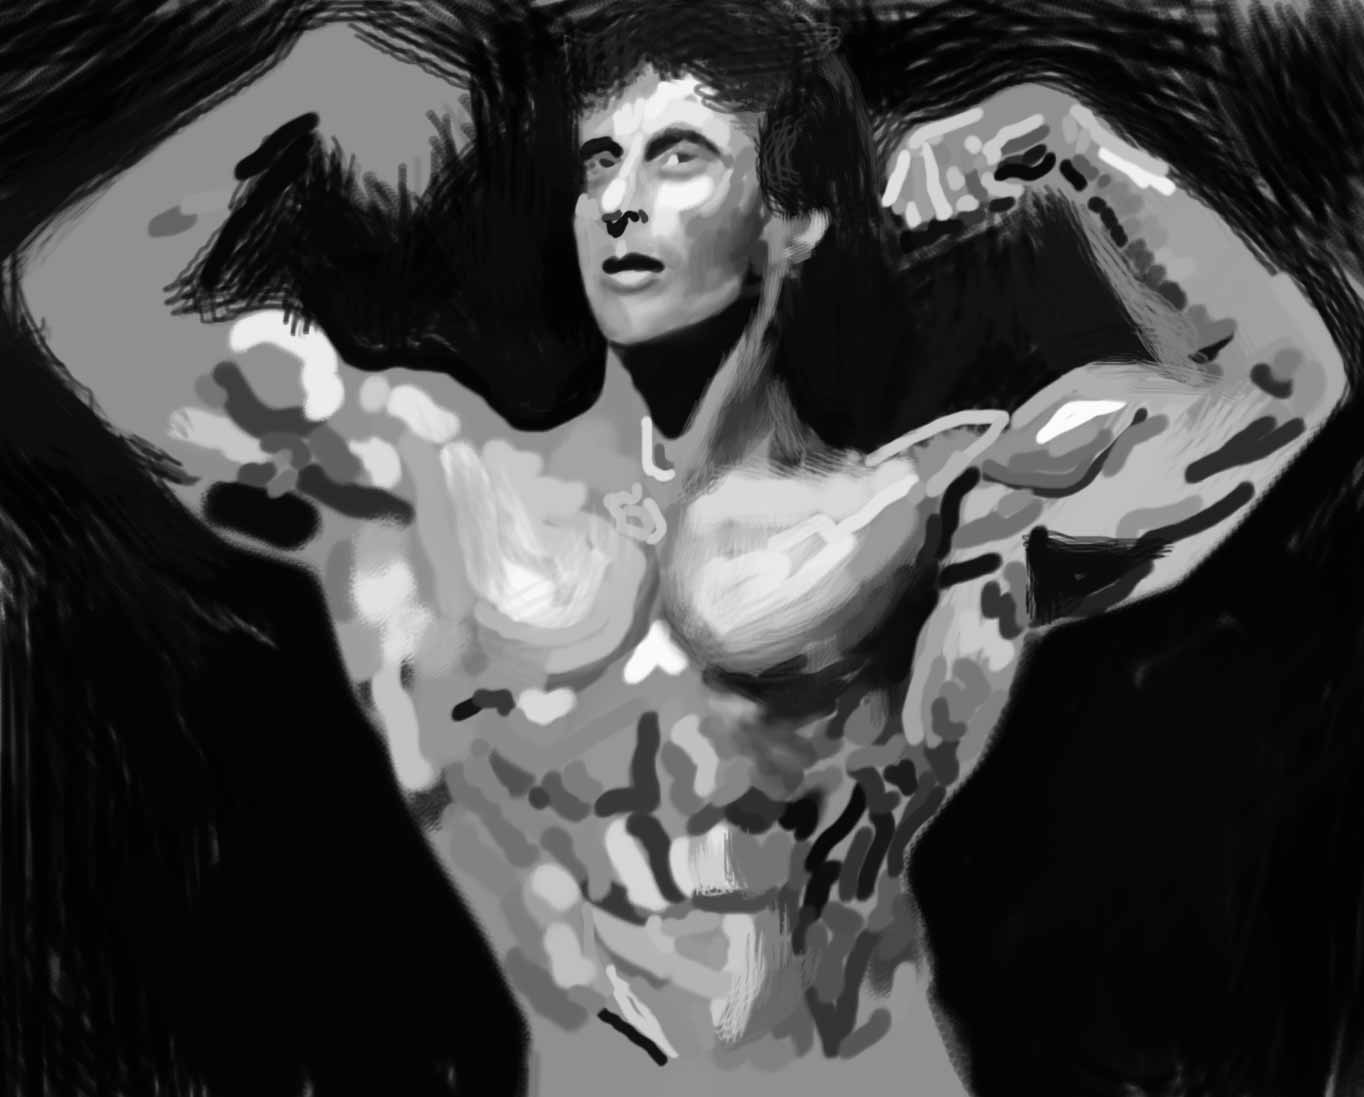
(PICTURE NOT FINISHED YET)
As from my experience i can tell you one thing.
Don’t always try to make things look REALISTIC.Make it look like a drawing.You will like it.
Once again i will repeat the steps:
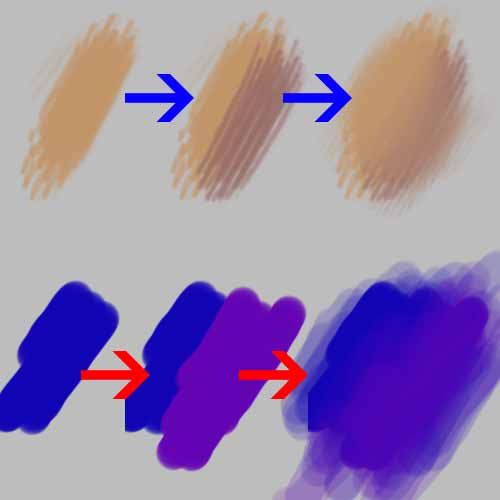
On the first two steps the brush opacity is 100%,then to smooth things we use opacity lower than 25 %.
OR you can use the same brush opacity to make “hard” look.Sometimes you need to show that, if , for example ,you draw a bad character,weather or situation. This depends from the artist.
Well..This was my tutorial for today and I hope to see you again on my website neliamartian.com.
Goodbye!